

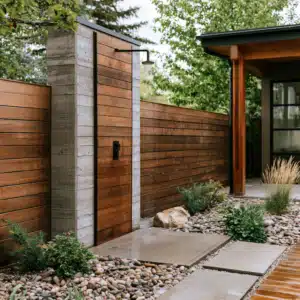
There’s nothing quite like rinsing off the chlorine, sand, or backyard barbecue grease under an outdoor shower before you ever step foot inside. It’s one of those upgrades that feels like a luxury but is actually one of the more approachable projects a motivated homeowner can tackle.
If you’ve been eyeing an outdoor shower for your patio, pool deck, or garden path, here’s what the DIY process actually looks like, and where things tend to get trickier than the YouTube tutorials let on.
Step 1: Pick Your Spot
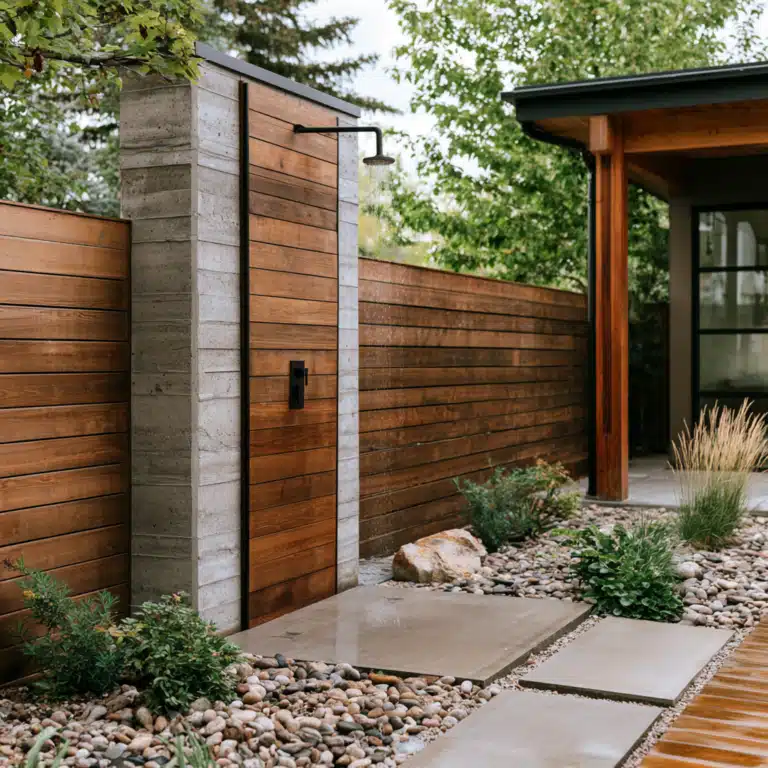
Location is everything. You’ll want a spot with decent privacy (a fence line, side of the house, or tucked behind some landscaping all work well), reasonably level ground, and proximity to your existing plumbing lines. The closer you are to an existing water source, the simpler the install.
Also think about drainage. Water needs somewhere to go, whether that’s a gravel bed, a connection to your existing drain line, or a simple sloped surface that directs runoff away from your foundation.
Step 2: Choose Your Setup
Outdoor showers generally fall into a few categories:
- Freestanding kits: These come with the post, showerhead, and plumbing components bundled together. They’re the easiest entry point for DIYers since most of the design work is already done for you.
- Wall-mounted showers: These attach directly to your home’s exterior wall, tying into existing plumbing behind that wall. More efficient, but it means cutting into your siding or stucco.
- Custom builds: For homeowners who want a fully designed enclosure with built-in shelving, multiple showerheads, or a matching material palette. These take more planning but offer the most personality.
For a first DIY project, a freestanding kit is usually the friendliest option.
Step 3: Handle the Plumbing
This is where things get real. You’ll need to tap into either your home’s cold water line or, if you want warm water, both hot and cold lines. That means shutting off your water supply, cutting into pipe, and adding the appropriate fittings and shutoff valves.
If you’ve never sweated copper pipe or worked with PEX fittings before, this is the step where a lot of DIYers start second-guessing themselves, and for good reason. A loose fitting outdoors doesn’t just mean a leaky faucet. It can mean water pooling against your foundation or seeping into a wall you can’t see.
Step 4: Build the Base and Frame
Whether you’re using a kit or building custom, you’ll need a solid, stable base. This usually means:
- Digging and setting a post in concrete, or
- Anchoring a wall-mounted unit securely into studs, not just siding
Skimping here is how you end up with a wobbly shower a season later. Take the time to get it level and anchored properly.
Step 5: Add the Finishing Touches
This is the fun part. Teak slats, a small drainage pan, a hook for towels, maybe even a changing wall for privacy. Little details like these are what turn a functional outdoor shower into the kind of feature that makes your backyard feel like a retreat.
When to Call in the Pros
A freestanding kit with a simple garden hose hookup is a genuinely doable weekend project for most homeowners. But if any of the following apply, it’s worth bringing in a licensed pro:
- You need to tie into your home’s hot and cold water lines
- The install requires cutting into exterior walls or siding
- You want proper drainage tied into your existing plumbing system (instead of just letting water run onto gravel)
- You’re not confident sweating pipe, working with shutoff valves, or dealing with local plumbing codes
Getting the plumbing wrong outdoors can lead to bigger headaches than a slow drip. We’re talking foundation damage, mold, or a shower that works great in July and freezes solid come January because it wasn’t winterized correctly.
Beat the Heat, the Right Way
An outdoor shower is one of those upgrades you’ll use way more than you expect, and wonder how you ever lived without. Whether you’re tackling it yourself or want a pro to handle the plumbing and finish work, the payoff is the same: a backyard that feels like a getaway all summer long.
Thinking about adding one to your outdoor space? Get a free quote or explore our outdoor living services to see what we can build for you.
Licensed pros, protected payments, and a 90-day warranty, so your summer upgrade actually holds up.